In this article, we'll go through the different tools you can use in order to set up and customize your Text with image section!
Text with image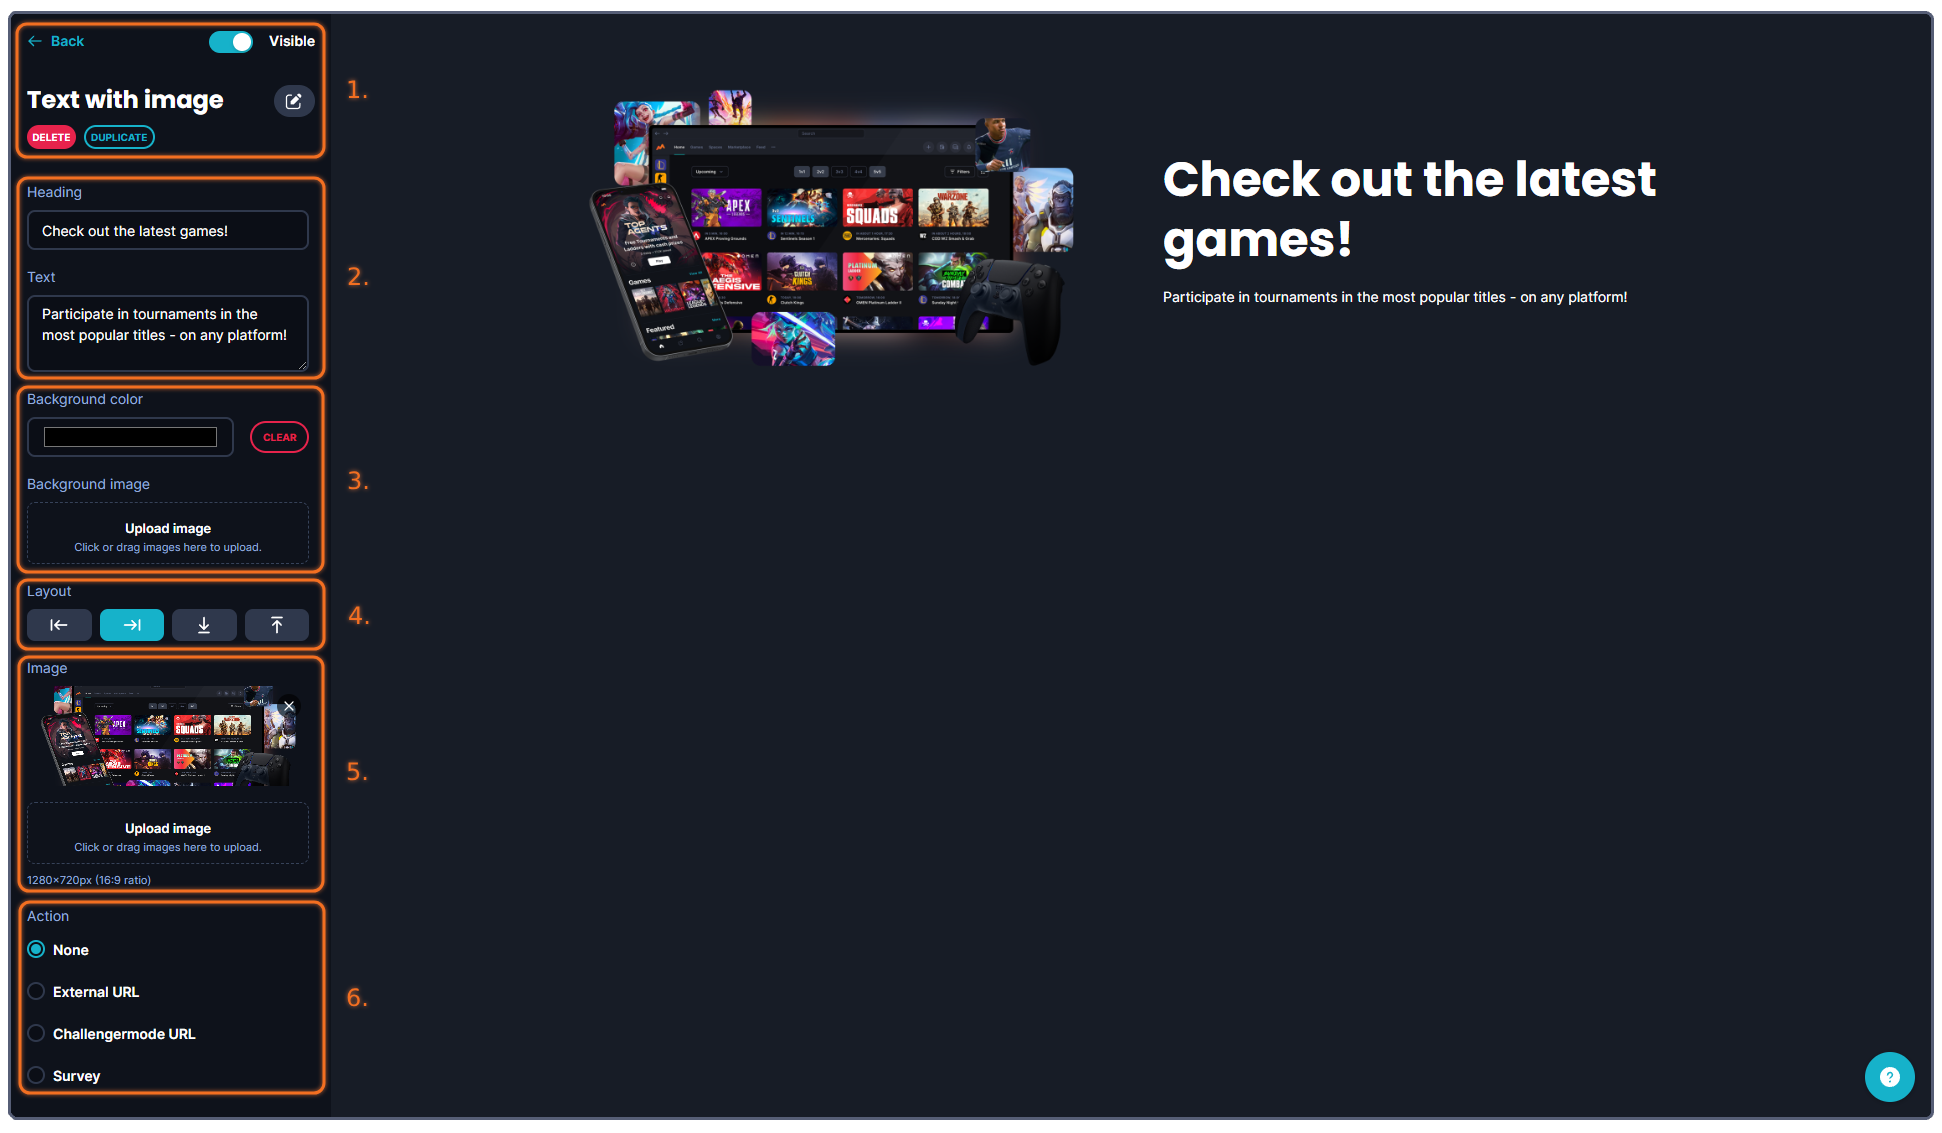
The tools that you can use when creating your banner are more or less structured into six (6) categories.
1. Administrative tools, such as deleting, copying, showing/hiding the banner or going back to the previous page.
2. This is where you can write and customize your text for this section. These text fields consist of a Heading and Text.
3. This is where you customize the background of this section, it can be either a uniform color, or an image, that you upload.
4. The layout refers to the layout of the text and image in this section, i.e if you want the text to be on the right side of the image or the other way around for example.
Try out different options to see what suites you.!
5. This is where you upload the image(s) that will accompany the text in this section, simply click the Upload Image button and select an image that you have saved locally to add it to this section.
6. You can also make this section clickable by adding a link to either an external URL, Challengermode URL or a Survey.
Make sure you input the correct type of link to the selected action if you decide to make this section clickable.
Running into other issues, or do you have additional questions? Feel free to chat with us by clicking (?) on Challengermode.
